
Last updated November 5, 2026
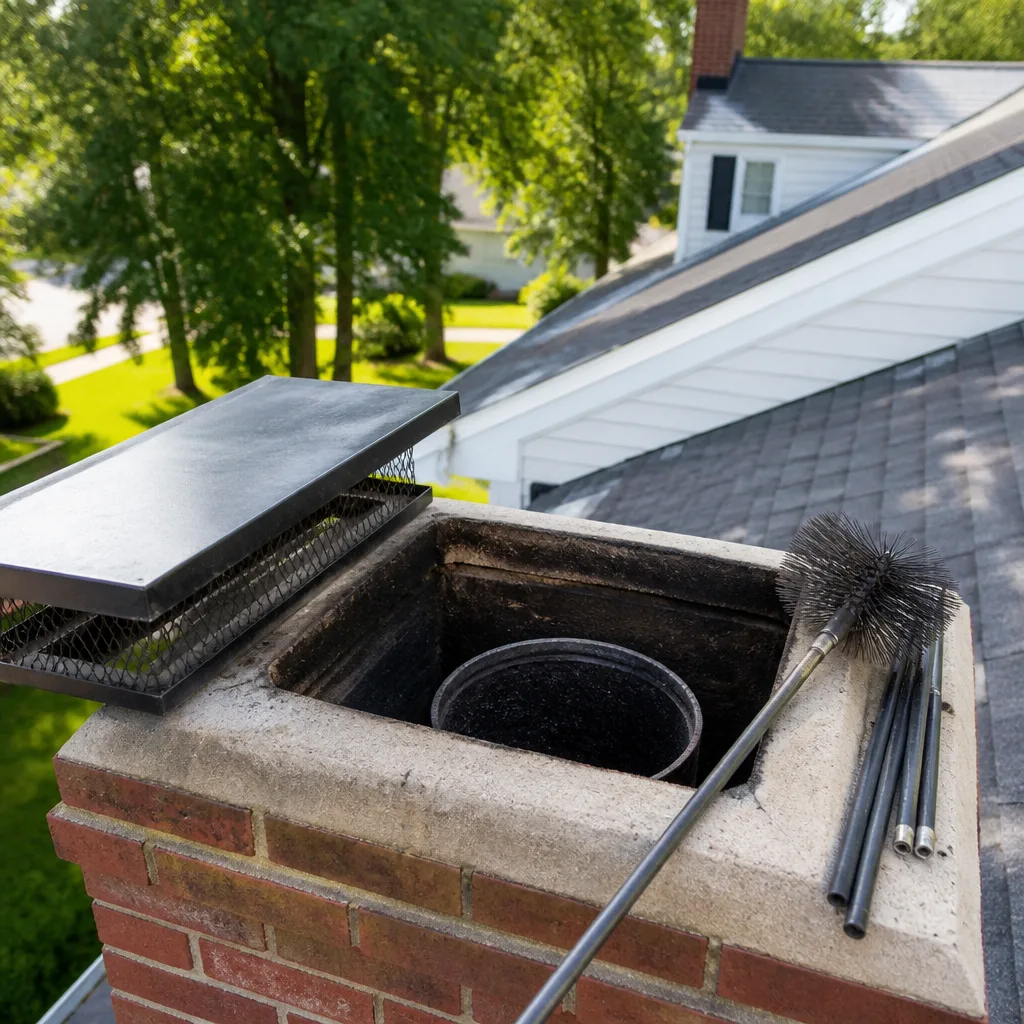 Sweep & inspection
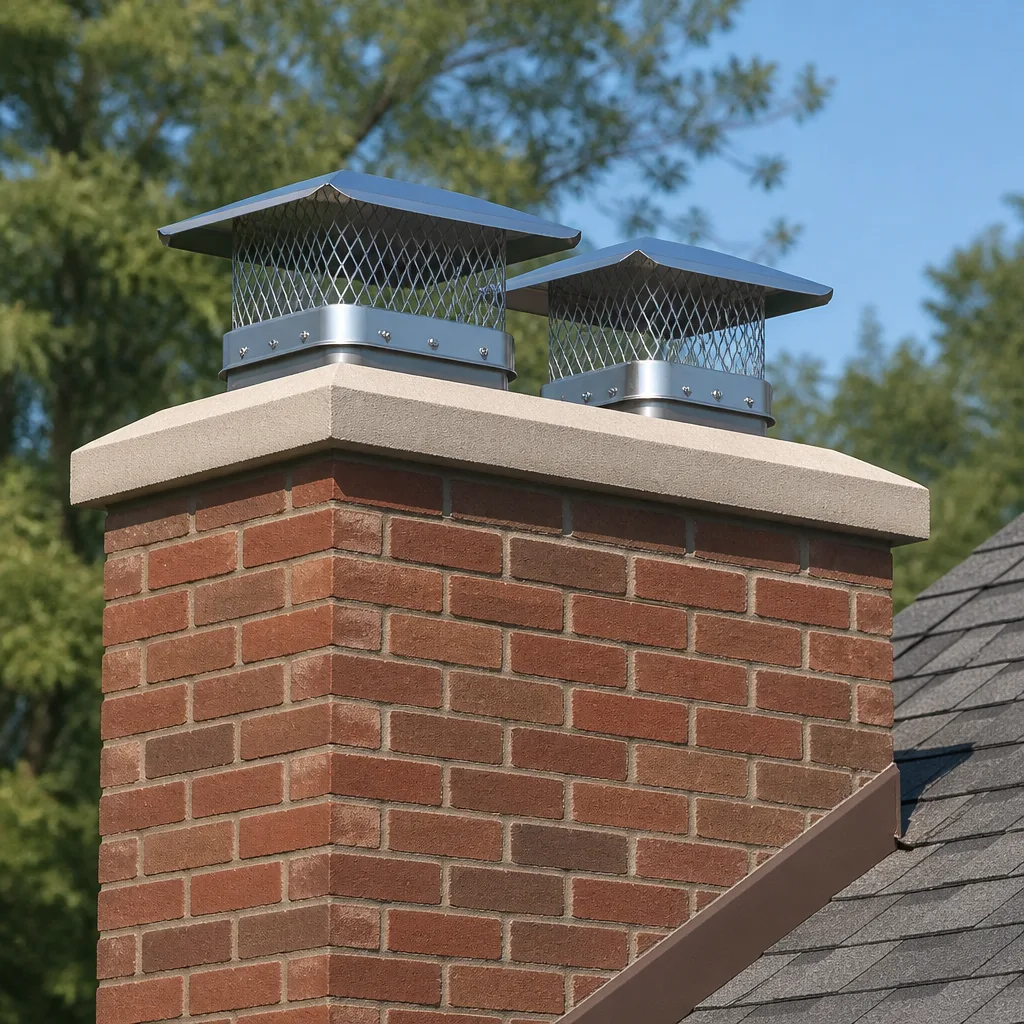 Caps & crowns
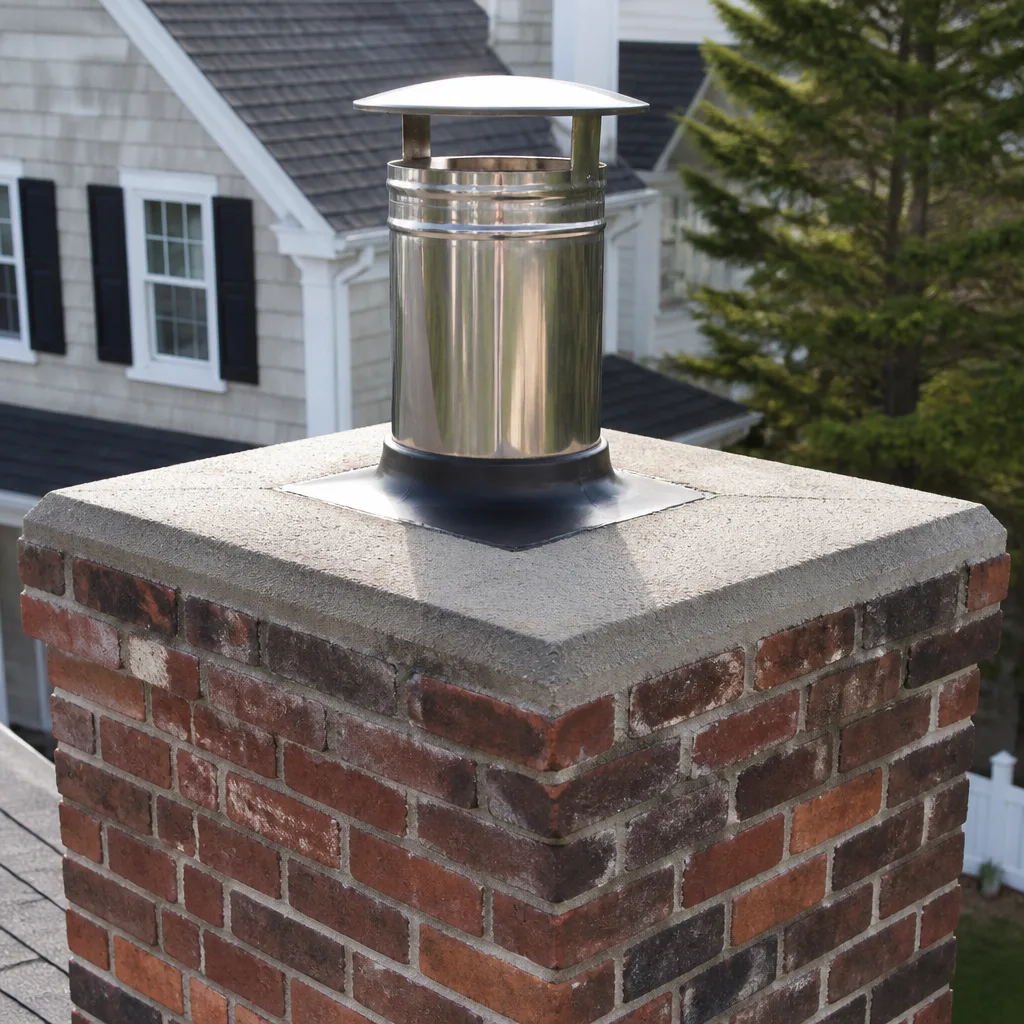 Flue relining
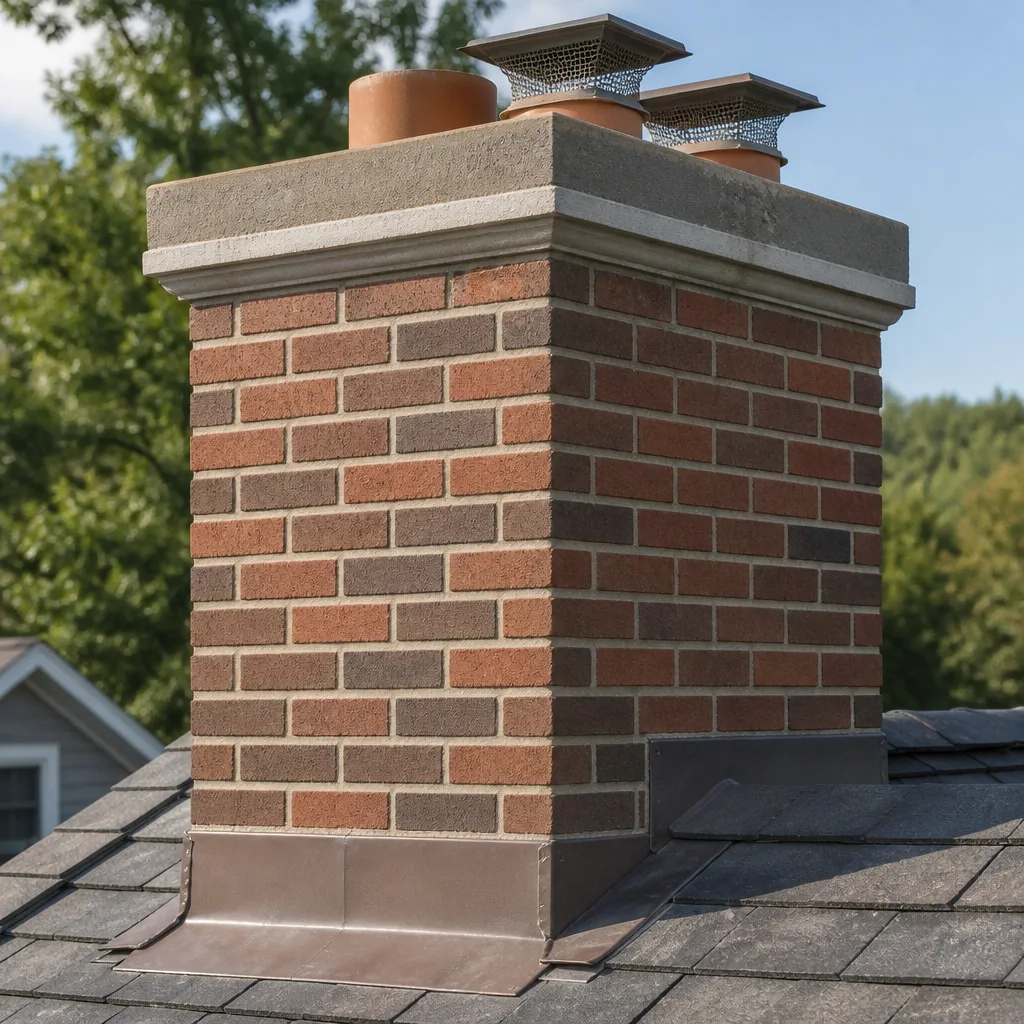 Masonry repair
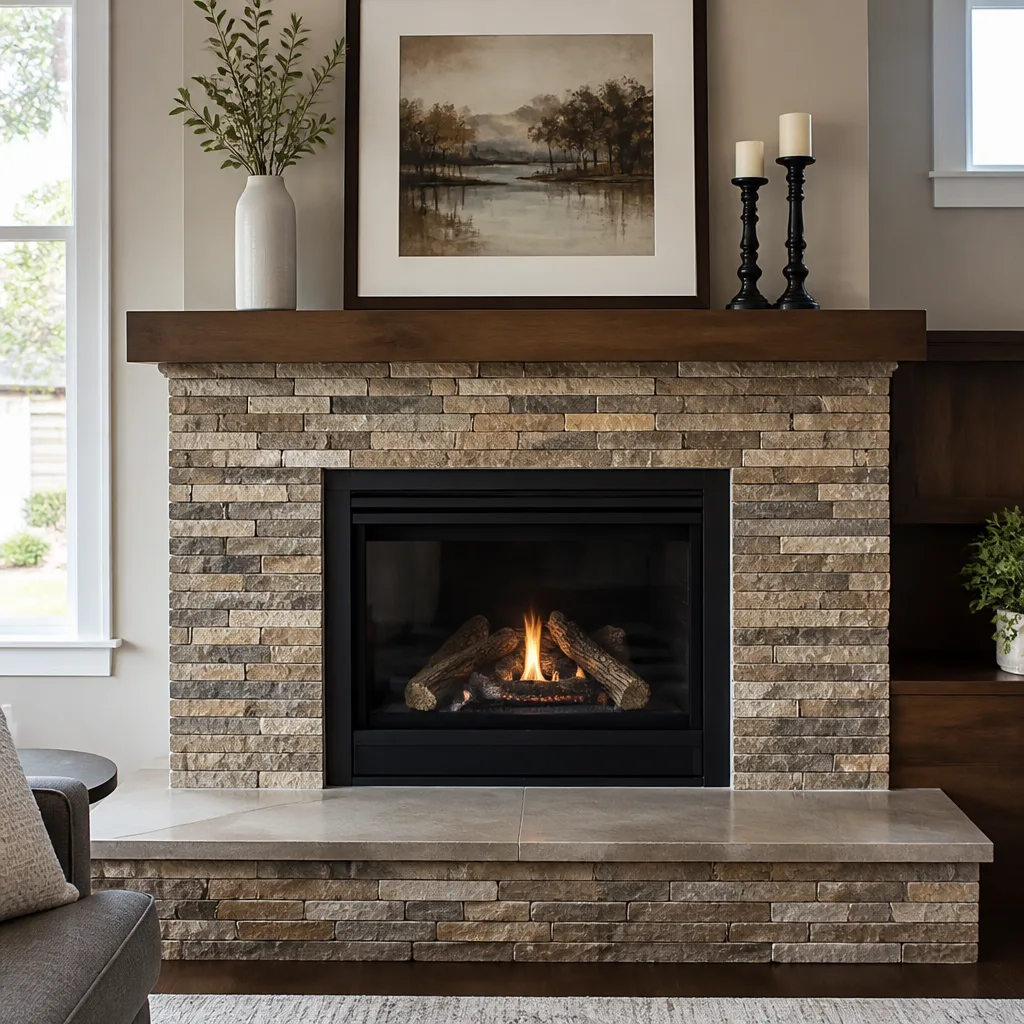 Gas fireplace service
Level 1 sweep and inspection to the NFPA 211 annual standard - flue, crown, cap, and flashing checked and photographed
Chimney sweep logs do not sweep chimneys. They loosen some creosote - which then falls where a brush and vacuum still have to collect it.
Chimney Sweep Maintenance Checklist for Mission Valley Homeowners
Most Mission Valley homeowners assume the annual sweep is the whole maintenance story. It isn’t. The real work is what happens between visits: a cap that has shifted a half inch, a crown crack the width of a credit card, flashing that has lifted away from the stucco. These are not dramatic failures. They’re quiet ones, and in a mild Southern California climate they can sit unnoticed for years while the chimney slowly absorbs moisture and the flue accumulates deposits nobody sees. This guide lays out a full maintenance system: what to check in autumn before burning season, what to monitor while it’s in use, what to document after the season ends, and which of those tasks you can safely do yourself versus which ones belong in the hands of a chimney sweep who works with professional-grade access equipment and materials. It’s built specifically for Mission Valley homes: wood-burning fireplaces in ’70s and ’80s construction, gas inserts in newer condos, and attached single-family homes where the roof slope and chimney height make ladder work genuinely hazardous.
Quick Answer
A complete chimney maintenance checklist for Mission Valley homeowners has three parts: a pre-season inspection of the cap, crown, flashing, firebox, and damper before the first fire of autumn; mid-season monitoring of burn behavior, smoke draw, and surface temperatures during regular use; and post-season documentation of any changes you photograph year over year. The professional-grade tasks (a full sweep, a video camera inspection of the flue, a HeatShield liner restoration evaluation, or any repair involving high-tension hardware or roof work) belong to a certified specialist, not a ladder and a flashlight. Homeowner-safe checks cover visible surface conditions only; anything involving the flue interior, the smoke chamber, or roof-level components requires professional access equipment.
Styles & brands we work with
- Sweep & inspection
- Caps & crowns
- Flue relining
- Masonry repair
- Gas fireplace service
Table of Contents
- Five Failure Points That Cause Most Mission Valley Chimney Problems
- Pre-Season Tasks: Before the First Fire
- Mid-Season Tasks: What to Watch While the Fireplace Is in Use
- Post-Season Tasks: Documenting What Changed
- DIY-Safe Checks Versus Professional-Only Work
- Why Dryer Vents Belong on the Same Checklist
- How to Photograph Your Chimney for Year-Over-Year Documentation
- Common Mistakes to Avoid
Five Failure Points That Cause Most Mission Valley Chimney Problems
In our experience the vast majority of chimney failures in Mission Valley trace back to five specific locations, and almost none of them are the firebox itself. The flue liner is one. The cap is another. The crown and the flashing are a third and fourth, and the smoke chamber above the firebox is the fifth. Each of these has a distinct failure signature. The liner develops hairline cracks from repeated thermal cycling, especially in older clay-tile systems that were never designed for the kind of repeated heating and cooling cycles a Southern California fireplace sees when it gets used heavily in December and January and then sits idle for months. The cap corrodes at the mesh, allowing embers and small debris to enter the flue. The crown develops hairline fractures that widen during hot-dry Santa Ana conditions. The flashing lifts from the stucco due to ordinary settling and thermal movement. And the smoke chamber, which few homeowners ever see and even fewer checklists mention, accumulates a rough glaze of creosote in its corbeled surface that no visual firebox inspection can reveal on its own.
The point of a real maintenance checklist isn’t just to sweep more often. It’s to check these five locations in sequence, on a schedule, with documentation, so that when one of them starts to fail, you catch it as a repair instead of a reconstruction. A missing or degraded cap is the single most common finding on Mission Valley inspections we encounter: a failed cap lets moisture and debris enter the flue regardless of what else is in place. A missing cap also allows embers to exit the flue during use, and in the dry vegetation conditions common in the San Diego River valley during late summer and autumn, that is a fire ignition source no homeowner should tolerate. The cap is the first thing on the list, and every other safeguard you have depends on it remaining intact.
The Five Failure Points to Inspect Every Season
- The cap and spark arrestor: check for corrosion, loose fasteners, bent or missing mesh, and any visible shift in the cap’s position on top of the flue.
- The crown: look for hairline cracks, spalling, pooling water, or separation between the crown edge and the flue tile.
- The flashing: check for lifted or separated flashing where the chimney penetrates the roof, gaps in sealant, or visible rust on the metal.
- The firebox and damper: examine firebrick for cracks, missing mortar joints, or shifting, and confirm the damper opens and closes fully.
- The smoke chamber: this is the one location you cannot see from below. It requires a professional camera inspection above the damper to detect glaze, rough surfaces, or flaking.
Pre-Season Tasks: Before the First Fire
The pre-season checklist in Mission Valley should begin in late September or early October, before the first genuinely cool evening sends you reaching for the gas key or the firewood stack. The sequence matters. Start at the top and work down, because what happens at the crown and cap determines what you’ll find lower in the system. Do the visible exterior checks first, then the interior checks, then decide whether the fireplace is ready for the season.
Step 1: Check the cap from the ground or a safe vantage point. Use binoculars if you have them. Look for a cap that has shifted, a spark arrestor mesh that is sagging or torn, or any visible rust streaking on the cap body. Do not climb onto the roof for this. Mission Valley roofs are often steep, tile or shingle-clad, and two stories high, and the risk of a fall outweighs the benefit of a closer look at a component that a professional can inspect safely with a ladder and safety harness.
Step 2: Examine the crown and flashing from the ground. You’re looking for cracks in the crown, which is the concrete or mortar surface that covers the top of the chimney around the flue. In this climate, crown cracks can widen during hot dry weather and then collect moisture during the cooler, higher-humidity months of the year. Flashing problems are harder to see from the ground, but you may spot lifted corners, missing sealant, or dark staining on the chimney chase.
Step 3: Inspect the firebox and damper. Open the damper fully and check that it moves without binding. Look at the firebrick: cracked or spalling brick, missing mortar, or visible gaps are all reasons to hold off on the first fire and call a specialist. A damaged firebox can expose the surrounding framing to heat that it was never designed to absorb.
Step 4: Check the gas line and log set if you have a gas insert. Confirm the pilot lights, the flame is steady and blue with no yellow flickering at the edges, and there is no gas odor before or after ignition. If you smell gas, leave the unit off and call both your utility and a chimney technician.
Step 5: Schedule the professional sweep if it has been a year or more. The National Fire Protection Association standard used by most professionals is an annual inspection, with sweeping done when the inspection turns up any measurable creosote or soot deposits. Mission Valley homes that burn mostly soft woods, or that use the fireplace frequently in December and January, often need a sweep every season or two. Homes with occasional use may go longer, but only a camera inspection can tell you for sure. The estimate for the inspection is free, and the written estimate sets the price for any work that comes out of it.
Mid-Season Tasks: What to Watch While the Fireplace Is in Use
Once the season is underway, the checklist shifts from structural inspection to operational observation. You are watching for the ways the system tells you it’s not drawing properly, not burning cleanly, or not containing heat the way it should. These are the signs that a problem has developed since the pre-season check.
Watch the smoke draw. A healthy chimney pulls smoke up and out of the firebox with a steady, visible draft. On a cold start you may see a little spillage before the flue warms up, but once the fire is going, smoke should not roll into the room. If you see smoke curling back into the living room after the first minute or two, that signals a pressure issue: a partially blocked flue, a cap that’s clogged, a damper not fully open, or a drafting problem related to house tightness and competing exhaust fans.
Listen for the sound of burning.** A fireplace with a clean flue and open damper burns with a steady, low roar. Popping, crackling, or the sound of debris falling is a sign something is in the flue: creosote flaking, a bird or rodent nest, or loose mortar from higher in the chimney.
Check the surface temperature of the chimney chase. After the fire has been going for a while, place your hand on the drywall or stucco around the fireplace and the chimney chase if it is accessible. It should feel warm, not hot. A chase that is hot to the touch, or that shows signs of discoloration, indicates a possible liner failure or a clearance issue behind the wall. This is a red flag that calls for a professional inspection.
Monitor creosote buildup in the firebox. A little soot on the firebrick is normal. A thick, shiny glaze, especially a dark brown or black tar-like coating, is not. That is stage-two or stage-three creosote, and it is the residue of incomplete combustion. It is also the kind of material that, in sufficient quantity, is the fuel for a chimney fire. If you notice the firebox looking glazed rather than ashy, stop using the fireplace and schedule a sweep.
Check for moisture after rain. Between December and March, this area gets the majority of its annual rain. After any meaningful rainfall, look at the walls around your fireplace and at the ceiling below the chimney. Stains, bubbling paint, musty smells, or visible water beading on the firebox floor all point to water entry through the cap, crown, or flashing. Water in a chimney is also the fastest way to degrade a liner, since chimney masonry and clay tile absorb water and then undergo stress from the heating and cooling cycles of regular fires.
Post-Season Tasks: Documenting What Changed
By March or April the burning season is winding down. A lot of homeowners think this is the end of the maintenance cycle. It isn’t: this is the documentation phase, and it’s the one that gives you the largest return on the smallest amount of effort. The goal is simple. You take photographs now, you compare them to the photographs from last year, and the differences are what you show your chimney technician when something looks off. This is how you catch a crown crack that’s grown, a flashing gap that’s widened, or a cap that’s tilted a few degrees more than it was. None of those changes are visible day-to-day, but they’re easy to spot in a year-over-year photo comparison.
What to photograph:
- The cap, crown, and flashing from whatever ground vantage point gives you the clearest view
- The firebox, including the firebrick and the damper position
- The visible portion of the chimney chase, both the wall around the fireplace and the ceiling above it
- The gas log set or insert controls if you have one
- The exterior chimney from the front and back of the house, showing the transition from the roof line to the termination
How to store the photos: Keep them in a folder on your phone named by year, or print them and keep them in the same file as your chimney inspection reports. The goal is to make it impossible for a technician to miss a change. If a liner is failing, a technician with a camera will see it. But a crack in a crown that has doubled in width since last year tells a story that no camera inspection alone can show. Your documentation is the difference between a professional saying “this is starting to crack” and “this has been cracked for a while and it’s getting worse.” The second statement changes the urgency calculation.
What not to do on your own: Do not climb onto the roof to take a better photo. Do not use a drone to get closer. Do not try to remove the cap or access the flue interior. These are professional tasks, and the consequence of a fall or a dropped tool is not worth the better angle. Your ground-level photos, especially when taken from the same spot every year, are more useful than a closer view taken from a position that changes every time.
DIY-Safe Checks Versus Professional-Only Work
A surprising amount of chimney maintenance is visible to a homeowner. A surprising amount is also genuinely dangerous. The line between the two isn’t always obvious, so let’s be clear about it.
DIY-Safe Checks (No Ladder, No Tools Beyond Binoculars and a Flashlight)
- Checking the damper opens and closes and that the handle operates freely
- Looking at the firebrick for cracks, spalling, or missing mortar
- Checking for visible moisture, staining, or smell around the fireplace walls
- Looking at the cap and crown from the ground with binoculars
- Documenting everything with photos every year
Professional-Only Work (Ladder, Roof Access, Flue Interior, Specialized Tools, Code Work)
- Any work on the cap, crown, or flashing at roof level
- Any work on the flue interior: sweeping, camera inspection, liner evaluation, HeatShield restoration, or relining
- Any work on the smoke chamber above the firebox
- Any gas appliance inspection or service
- Anything involving the dryer vent run, which is inaccessible without pulling the dryer out and disconnecting the vent
The principle is simple: above the roof line, inside the flue, or involving gas, call a specialist. A ladder is not the same as a safety harness, and a flashlight is not the same as a sealed, illuminated camera system that can see the full height of the flue. Mission Valley homes are regularly two stories, the roof slopes are steep, and the fall risk is real. The person you’re hiring should have the equipment to operate on the roof and inside the flue without cutting corners.
One more distinction: a basic sweep removes creosote. A full maintenance visit checks the liner, the smoke chamber, the cap, the crown, and the flashing, and it produces a written inspection report with photos. If a company offers a low flat sweep without a camera inspection, you’re paying for a surface cleaning, not a maintenance visit. The two are not the same thing.
Why Dryer Vents Belong on the Same Checklist
While you’re thinking about the fireplace, it’s worth checking the other fire-risk appliance most Mission Valley homes run year-round: the clothes dryer. A dryer vent accumulates lint the same way a chimney accumulates creosote, and the failure mode is equally bad. Lint is highly combustible, and a clogged or restricted dryer vent is one of the leading causes of residential fires in the United States. The difference is that the dryer runs all year, not just in winter, and most homeowners never think to check it.
The integration point is straightforward. The same Chimney Sweep Mission Valley technician who inspects your fireplace can inspect and clean the dryer vent in the same visit. The work is a dryer vent cleaning service that involves disconnecting the dryer, cleaning the full vent run, and checking the termination point outside. The service is not an upsell; it’s a separate system with a separate set of fire risks, and it belongs on the same annual maintenance checklist as the fireplace.
Signs that your dryer vent needs attention: dry cycles taking longer than they used to, a burning smell when the dryer runs, excessive lint around the dryer drum, the flapper at the outside termination not opening when the dryer is running, and a dryer exterior that is hot to the touch. If you notice any of those, schedule the vent cleaning. It’s a safety service, and it’s one of the simplest ways to reduce a fire risk that most Mission Valley homeowners don’t know they have.
How to Photograph Your Chimney for Year-Over-Year Documentation
This is the section most checklists miss. It’s also the one that gives you the most leverage when you talk to a contractor. A photo comparison tells a story that a verbal description cannot. If your cap was straight last year and tilted this year, the photo proves it. If the flashing had a small gap last fall and a wider gap this spring, the photo documents the progression. If the firebox developed a new crack, the photo shows when it appeared.
Here’s the system we recommend for Mission Valley homeowners:
- Pick one spot on the ground for each exterior photo and use it every year. The same spot, the same angle, the same lens. If you can, mark the spot on the ground or use a reference point like a fence post or a paver.
- Photograph the chimney from at least two sides. A cap that looks straight from the front may be visibly shifted from the side. Crown cracks are often easier to see from an angle than straight on.
- Photograph the firebox with the damper open and with a light in it. Use your phone’s flash or a work light. The goal is to capture the firebrick surface and the damper edges clearly enough to compare later.
- Photograph the walls and ceiling around the fireplace. Use the flash. Moisture stains, bubbling paint, or dark discoloration often appear here before they show up anywhere else.
- Take the photos on the same week every year, or within a two-week window. Seasonal lighting changes the way shadows fall on the chimney. Keeping the timing consistent reduces false positives.
- Store the photos in a folder you will actually find. A dedicated phone album named “Chimney
” is enough. If you print them, keep them with your inspection reports.
When you show these photos to a technician, the conversation changes. Instead of asking “is this a problem?”, you’re asking “this crack has grown since last year, what does that mean?” The second question is the one a specialist can answer precisely, and it’s the one that leads to the right repair at the right time rather than a surprise repair under urgency.
Common Mistakes to Avoid
- Skipping the cap inspection because it’s hard to see from the ground. The cap is the first line of defense against moisture, debris, and embers. If it’s missing or degraded, every other component below it is working harder. Use binoculars or schedule a professional inspection, but don’t skip it.
- Assuming a gas fireplace doesn’t need maintenance. Gas inserts still have venting systems that need inspection. They produce moisture and combustion byproducts, and the venting components can corrode or block just like a wood-burning flue.
- Burning unseasoned wood, or wood that hasn’t been split and stacked for a full season. Green or wet wood produces more creosote per fire than dry seasoned wood, and that creosote accumulates faster in the flue. In an area like Mission Valley where firewood is often delivered in random batches, checking the moisture content of your wood is worth the effort.
- Ignoring the smoke chamber. The smoke chamber above the firebox has a corbeled, rough surface that collects more creosote per square inch than any other part of the system. It’s also the place where most chimney fires start. A visual firebox check will not tell you anything about the smoke chamber; only a professional camera inspection will.
- Using the fireplace with a partially closed damper. A partially closed damper restricts the flue opening and creates a backdraft risk. Always open the damper fully before lighting a fire, and close it fully when the fireplace is cold.
- Putting off a repair because it’s “not that bad yet.” A small crown crack is a $200 repair. A cracked crown that allows water into the masonry for two or three winters becomes a $2,000 repair. The earlier you catch it, the smaller the job. This is the core logic of a maintenance checklist, and it’s the one most Mission Valley homeowners learn through a bill rather than through the checklist.
- Climbing onto the roof to “get a better look.” Roof work on a Mission Valley home is a professional task with professional fall-protection requirements. The better look is not worth the hospitalization. If you can’t see it from the ground, call a professional who can see it safely.
See the difference
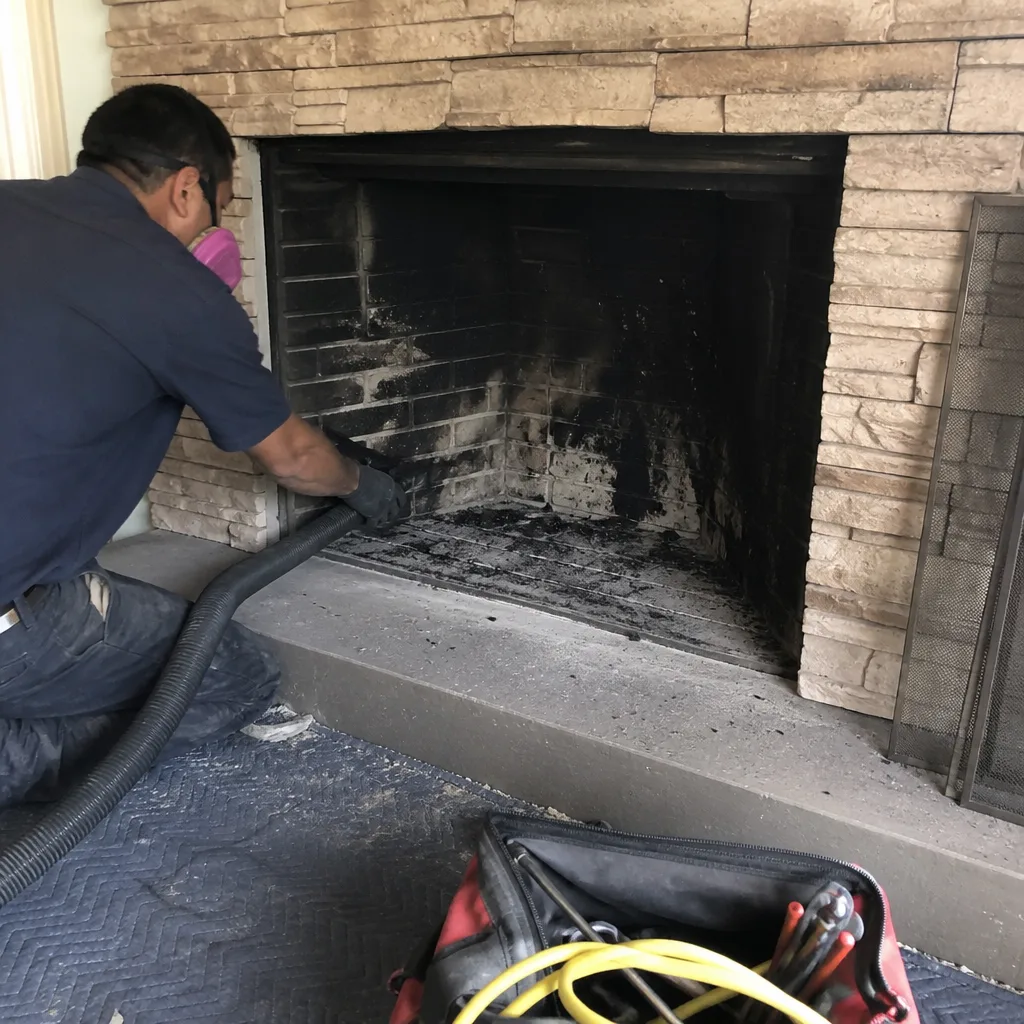 Before
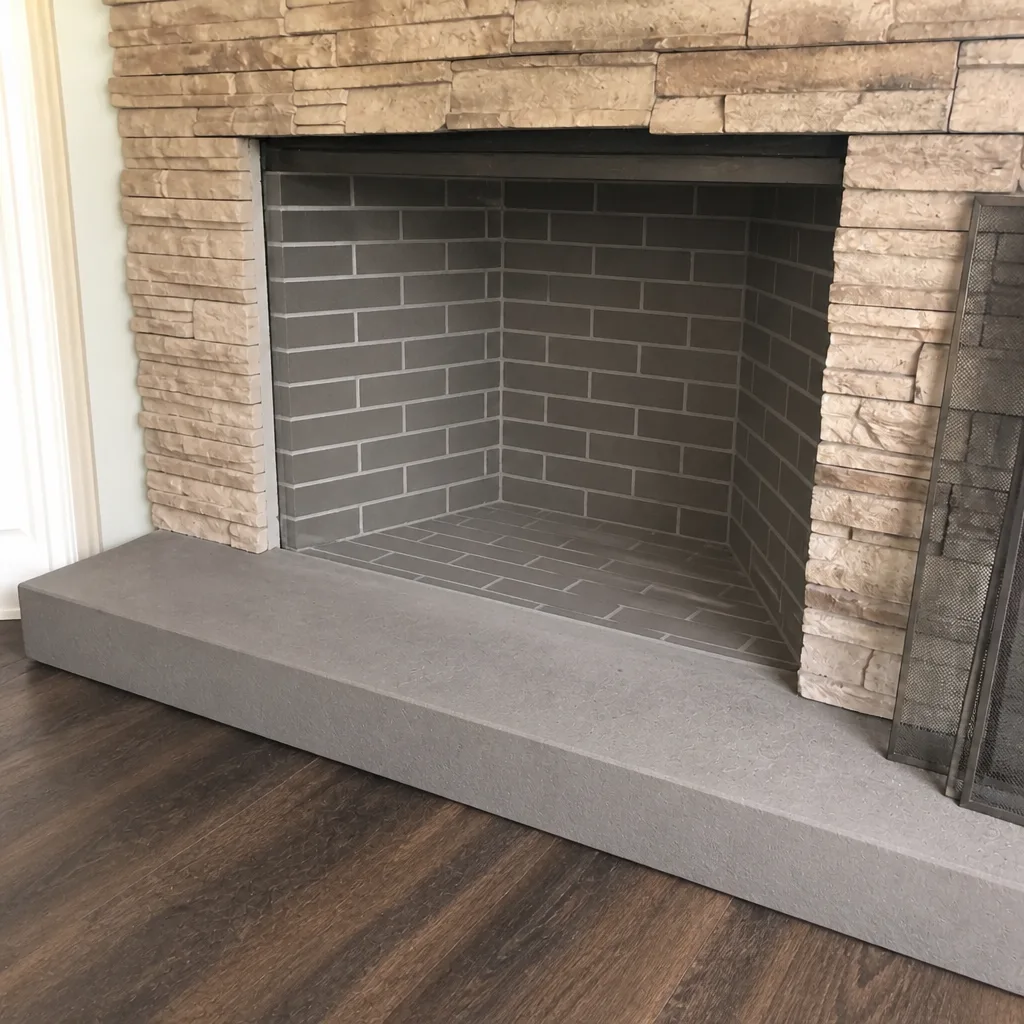 After
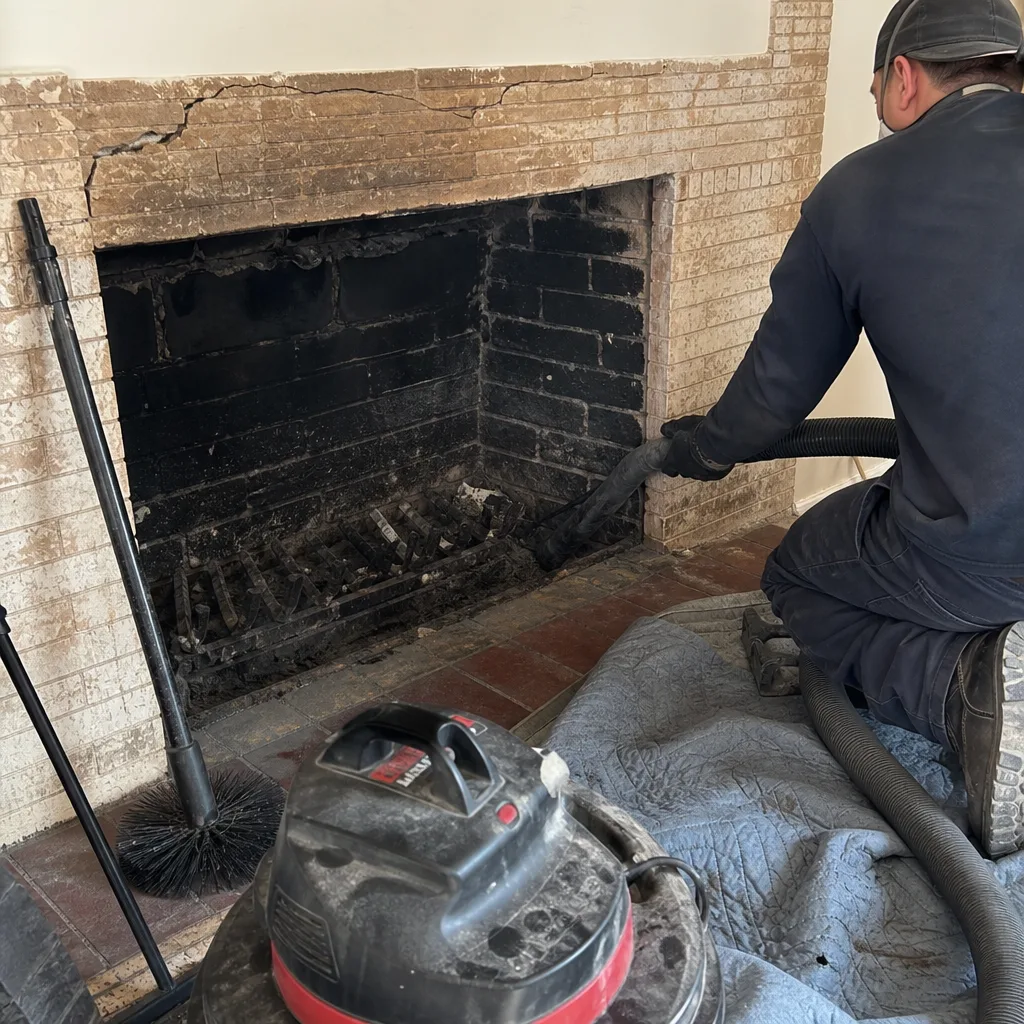 Before
 After
 Before
 After
When to Call a Professional
Call a professional when you see any of the following: smoke rolling back into the room after the fire is established; a glazed, tar-like creosote buildup in the firebox; water stains or moisture on the walls or ceiling around the fireplace; a missing, tilted, or corroded cap; visible cracks in the crown or firebrick; a hot chase or drywall around the fireplace; a gas odor from an insert; or a dryer vent that has not been cleaned in over a year. Also call a professional any time the inspection requires roof access, flue interior access, or work on the smoke chamber. These are not DIY tasks, and the equipment involved is specialized. Chimney Sweep Mission Valley offers free estimates in Mission Valley. Call (877) 752-2758. We answer 24/7. Fast dispatch from 7am to 7pm, Sunday through Friday.
Frequently Asked Questions
A chimney in Mission Valley should be inspected annually, and swept when the inspection identifies creosote or soot deposits that are thick enough to warrant removal. Homes that burn frequently in December and January may need a sweep every season or two; homes with occasional gas-only use may go longer. The only way to know for sure is a professional camera inspection. Call (877) 752-2758 for a free estimate. We answer 24/7. Fast dispatch from 7am to 7pm, Sunday through Friday.
A chimney needs repair when the inspection finds structural issues rather than surface deposits: cracks in the crown, a damaged cap, lifted flashing, deteriorating firebrick, or damage to the flue liner. A basic sweep removes creosote; it does not fix these conditions. A full maintenance visit evaluates the liner, smoke chamber, cap, crown, and flashing and produces a written report with photos. Call (877) 752-2758 for a free estimate. We answer 24/7. Fast dispatch from 7am to 7pm, Sunday through Friday.
Yes. A chimney cap is one of the most important components of a Mission Valley chimney. It keeps out rain, debris, birds, and rodents, and it prevents embers from exiting the flue during dry-brush conditions. A missing or degraded cap allows moisture into the flue year-round and creates a fire-ignition risk during dry summer and early autumn months. If your cap is missing or damaged, schedule a repair before the next burn season. Call (877) 752-2758 for a free estimate. We answer 24/7. Fast dispatch from 7am to 7pm, Sunday through Friday.
No. A professional chimney sweep requires specialized tools, a sealed camera system, roof-level fall-protection equipment, and the training to recognize liner damage, smoke chamber issues, and structural problems that a homeowner cannot see. Doing it yourself risks injury from a fall, damage to the flue, and a fire hazard that remains undetected. Call (877) 752-2758 for a free estimate. We answer 24/7. Fast dispatch from 7am to 7pm, Sunday through Friday.
HeatShield is a chimney liner restoration system that repairs a damaged flue liner without full relining. It uses a specialized coating applied through the existing flue to seal cracks and restore the liner’s surface. It’s an option when the liner has minor-to-moderate damage that does not require complete replacement, and it’s a specialist capability that most basic sweep companies do not offer. A camera inspection determines whether HeatShield is appropriate for your chimney. Call (877) 752-2758 for a free estimate. We answer 24/7. Fast dispatch from 7am to 7pm, Sunday through Friday.
Dryer vents accumulate lint that is highly combustible, and a clogged or restricted dryer vent is one of the leading causes of residential fires in the United States. Unlike a fireplace, the dryer runs all year, and most homeowners never think to inspect the vent. The same technician who maintains your chimney can clean the dryer vent in the same visit. Call (877) 752-2758 for a free estimate. We answer 24/7. Fast dispatch from 7am to 7pm, Sunday through Friday.
The Bottom Line
A reliable chimney maintenance checklist for Mission Valley covers three phases: pre-season inspection of the cap, crown, flashing, firebox, and damper; mid-season observation of burn behavior and surface temperatures; and post-season documentation with year-over-year photos. The professional-grade tasks (sweeping, camera inspection, liner restoration with HeatShield, cap or flashing repair, and dryer vent cleaning) belong to a specialist with proper equipment and access. The homeowner-safe tasks are ground-level checks and photo documentation. The goal isn’t just a clean flue; it’s catching the five failure points (cap, crown, flashing, firebox, smoke chamber) before they become expensive repairs. If it’s been more than a year since your last inspection, call (877) 752-2758 for a free estimate. We answer 24/7. Fast dispatch from 7am to 7pm, Sunday through Friday.
Written by the team at Chimney Sweep Mission Valley, serving Mission Valley since 2016.